

You can create automated message flows triggered by subscriber responses.
This will allow you to customize the messaging experience for your audience so that you have the most effective messages possible!
Here's how.
Step 1: Create a new workflow
The first thing you need to do is create a new workflow under the "Workflows" tab.
Select "Add Workflow."
Choose "Recurring."
Select "When a subscriber sends you a text message" as the trigger.
Type in the content of the response that you'd like to be the "trigger word" or "trigger phrase" that initiates your messaging flow.
You can input more than one word or phrase by pressing ENTER/RETURN or the comma key (",").
For example, perhaps you could tell your audience to text in the words "more info" in order to get more information regarding your business, and you could designate "more info" and "more" as the trigger words for this campaign.
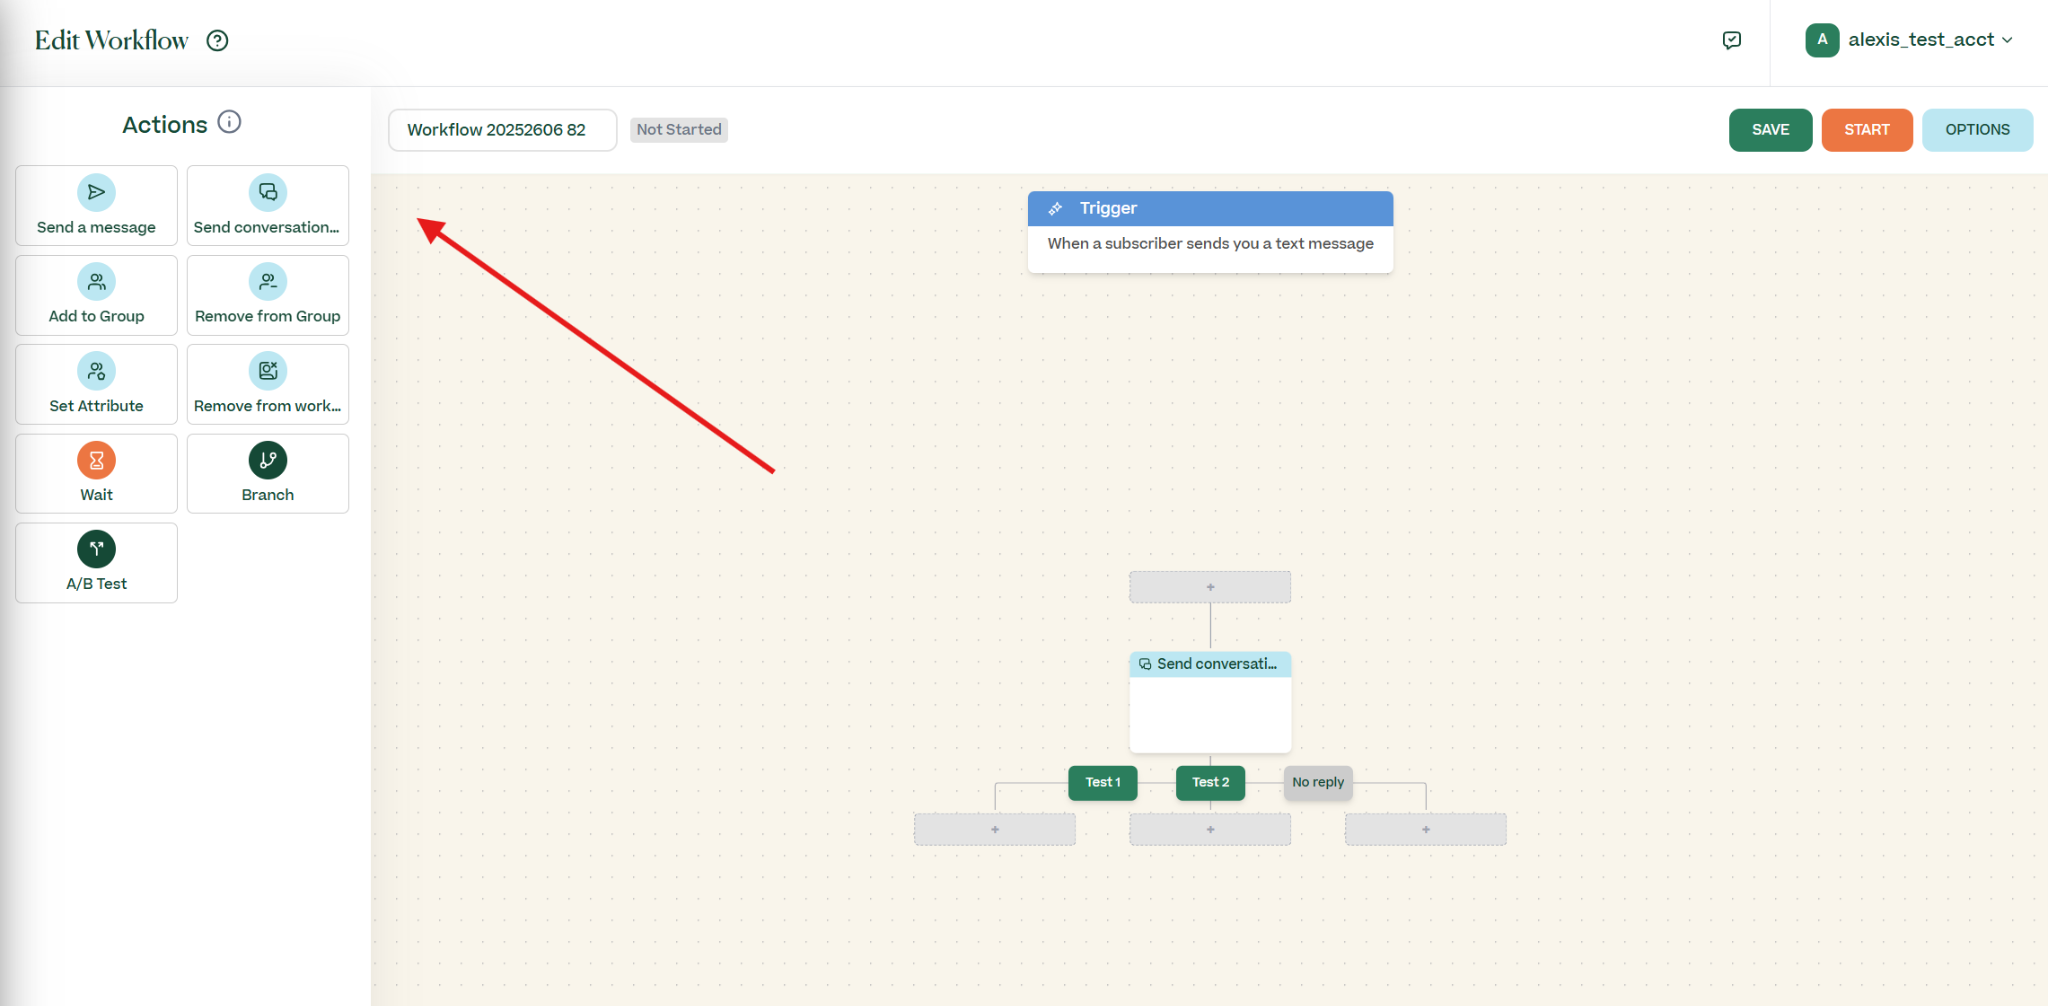
Step 2: Add a "conversational message" to your workflow
Next, you can drag a "Send Conversational Message" action to your workflow. A "conversational message" allows you to designate further "response words" that can trigger different messaging flows.
Click within the “Send Conversational Message” action that you just dragged into the editor and type in the message content in the message box that appears.
You can also input the words or phrases that you'd like to trigger different messaging flows for your subscribers.
Click “Confirm” to save your message and response words.
This will create separate branches depending on how your subscriber responds. It will also create a branch for if your subscriber doesn't reply within 2 days.
Step 3: Add actions to the different branches
You can then fill out your workflow add actions for the different branches by dragging the actions to each branch.
Step 4: Save and start your workflow
After you're done making edits to your workflow, you can click "Save."
When you’re ready to make your workflow live, click “Start.”